A king bed needs a headboard. That's not a design opinion, it's a visual fact: without one, a king sits in the middle of the room and floats. But most headboards built for a king are either expensive, boring, or both. What we needed for the Cali Room at Terra Luz was something with real texture, something warm, something that read as intentional from the doorway and didn't cost $800.
Four IKEA IVAR doors, a couple of hours, and under $200. That's the whole story.
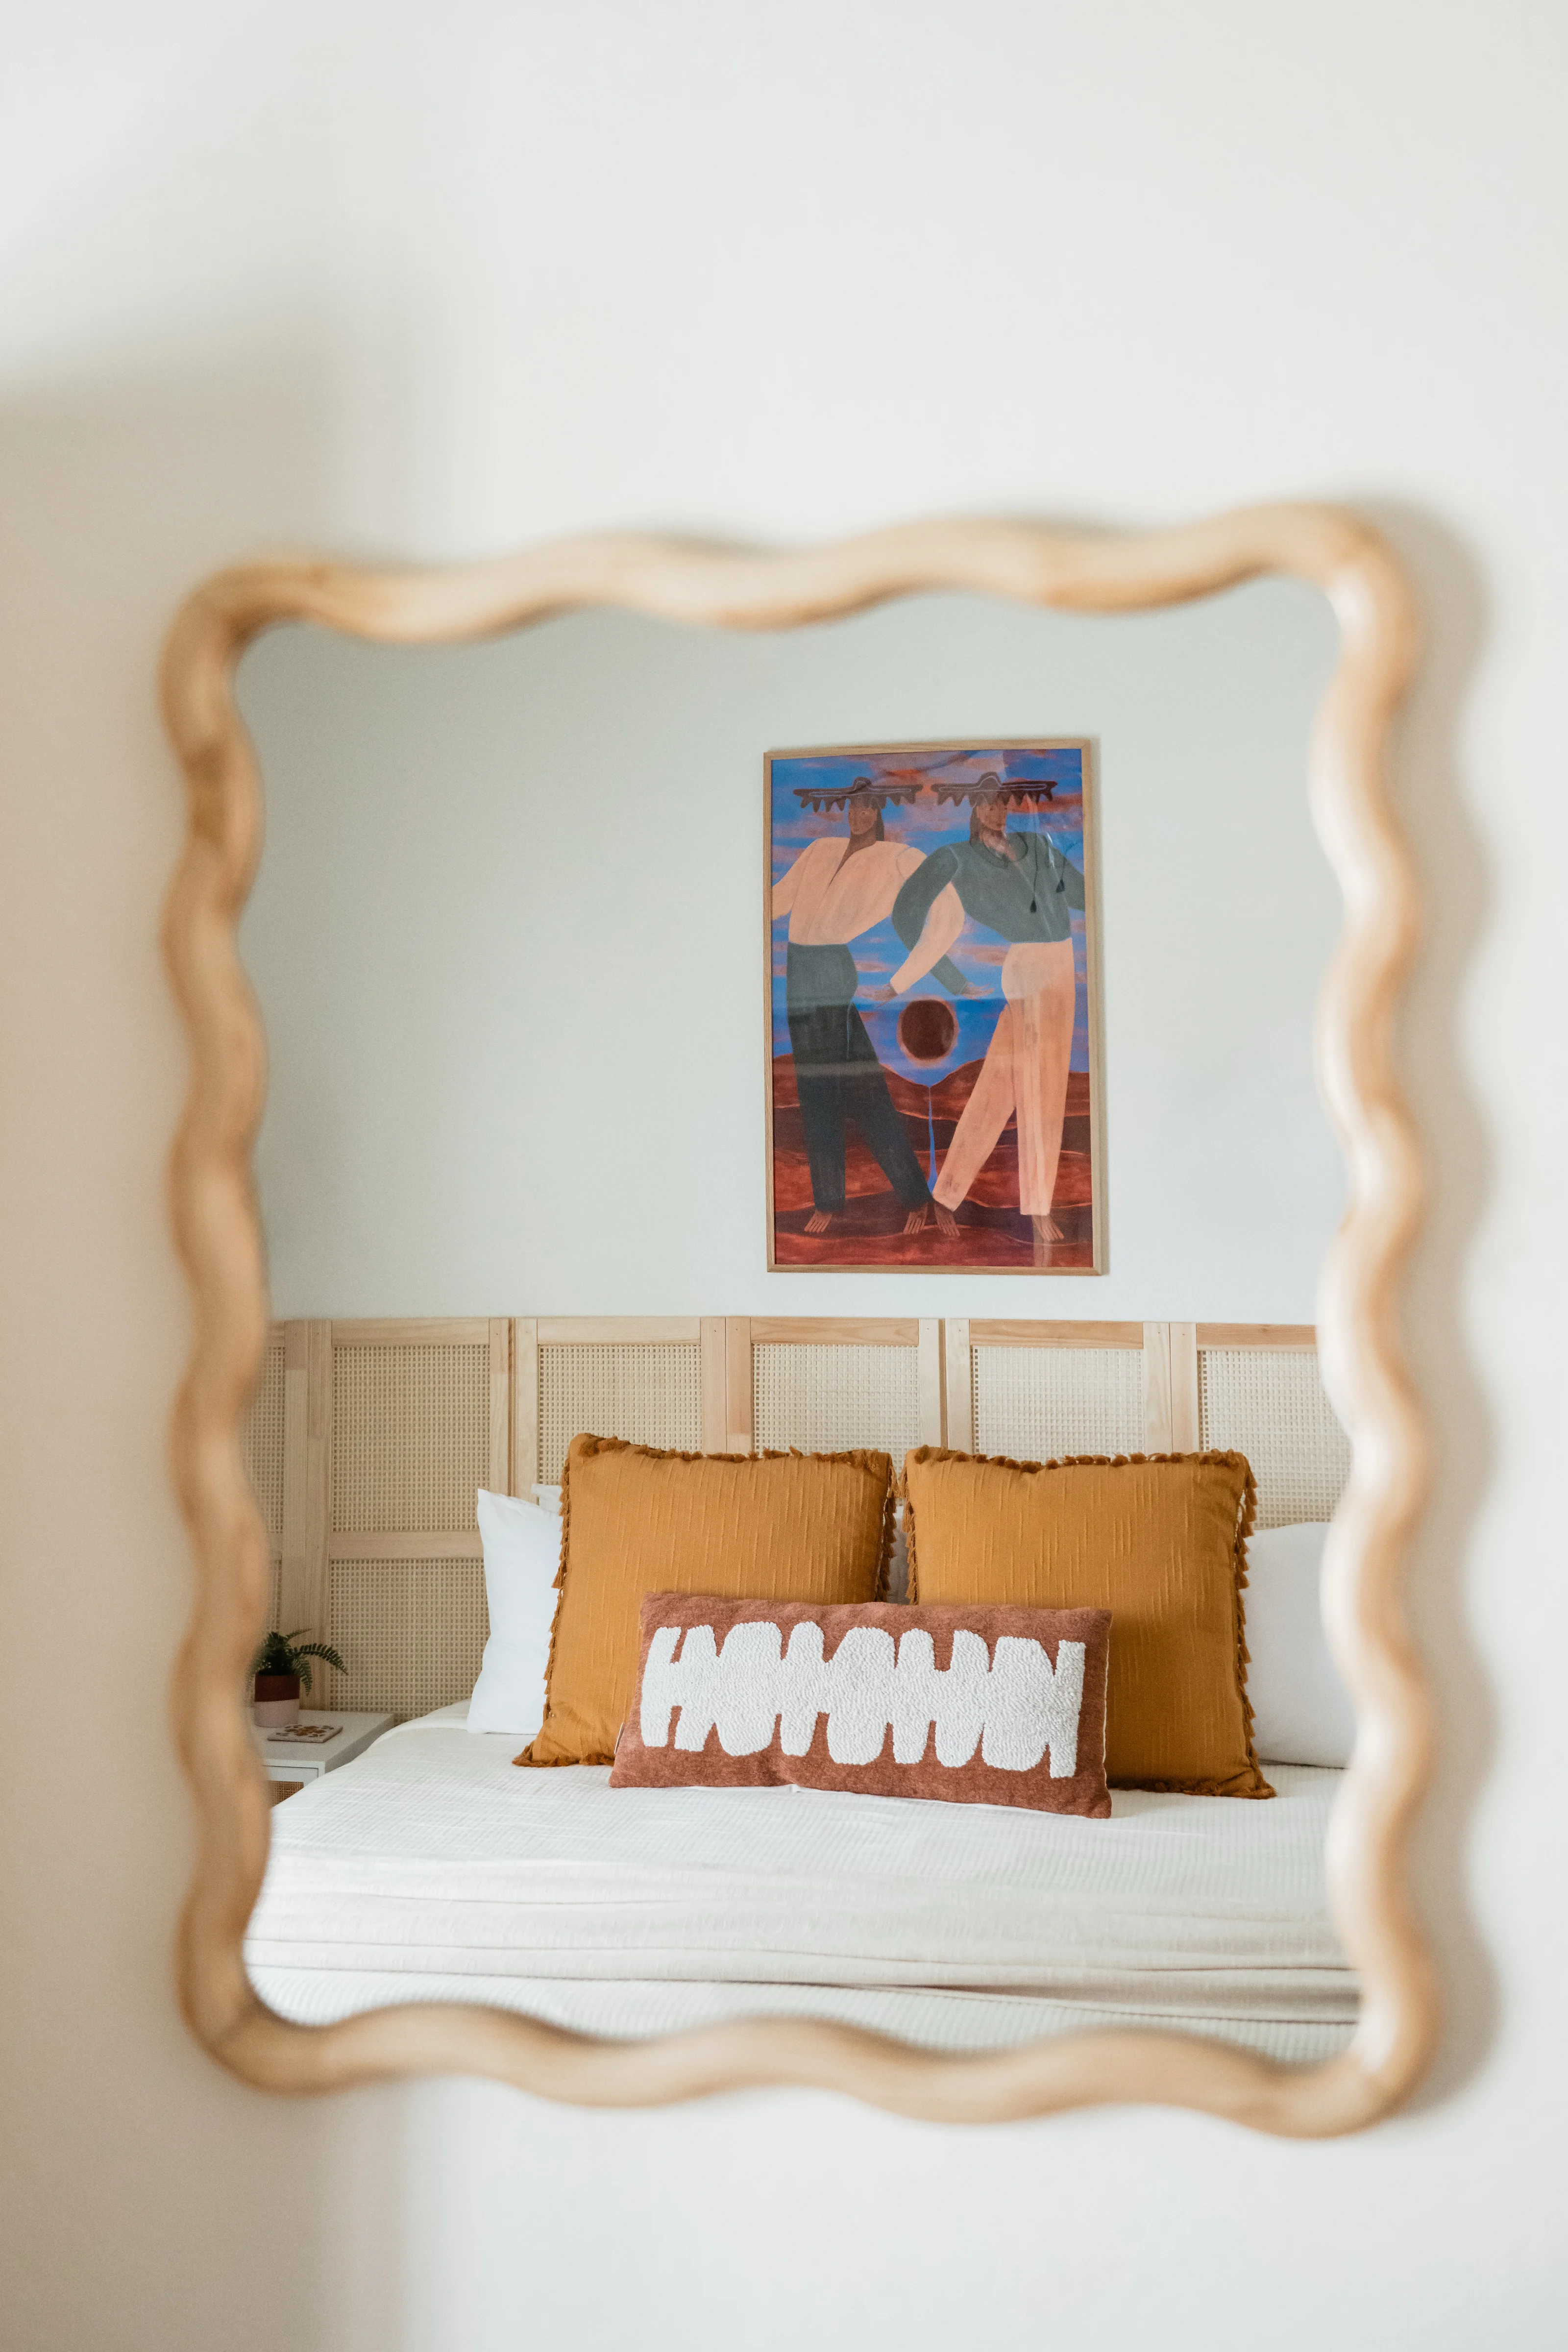
The finished headboard reflected in the wavy mirror. Four panels, wall to wall, reads as one continuous piece from across the room.
Why IKEA cabinet doors
The inspiration came from a hack I'd seen floating around where people use IKEA IVAR doors to build budget headboards. The logic is simple: IKEA makes flat panels in consistent dimensions, the IVAR door has a bamboo woven panel already set into a solid pine frame, and four of them lined up horizontally above a king bed cover almost exactly the right width. You're not building a panel. You're buying one in four pieces and hanging it on the wall.
The bamboo insert is pre-tensioned and uniform, which is the important part. DIY-weaving your own cane into a frame sounds doable until the tension goes uneven and it sags. These stay flat because IKEA has already done the hard part. The natural blonde color and woven texture reads exactly like rattan cane from across a room. Nobody's ever looked at the headboard and thought "that's bamboo."
What you need
- 4x IKEA IVAR doors with bamboo woven panel (sold in 2-packs, same finish — you need 2 packs)
- French cleat or Z-clip mounting hardware (one per door, or two per door for extra security)
- Level
- Drill + appropriate wall anchors for your wall type (drywall vs. stucco matters here)
- Painter's tape for layout
- Optional: thin strip of wood along the top edge to cap the installation cleanly
The IVAR doors are $45 per 2-pack, so all four come in at $90. Hardware on top of that and you're still well under $200.
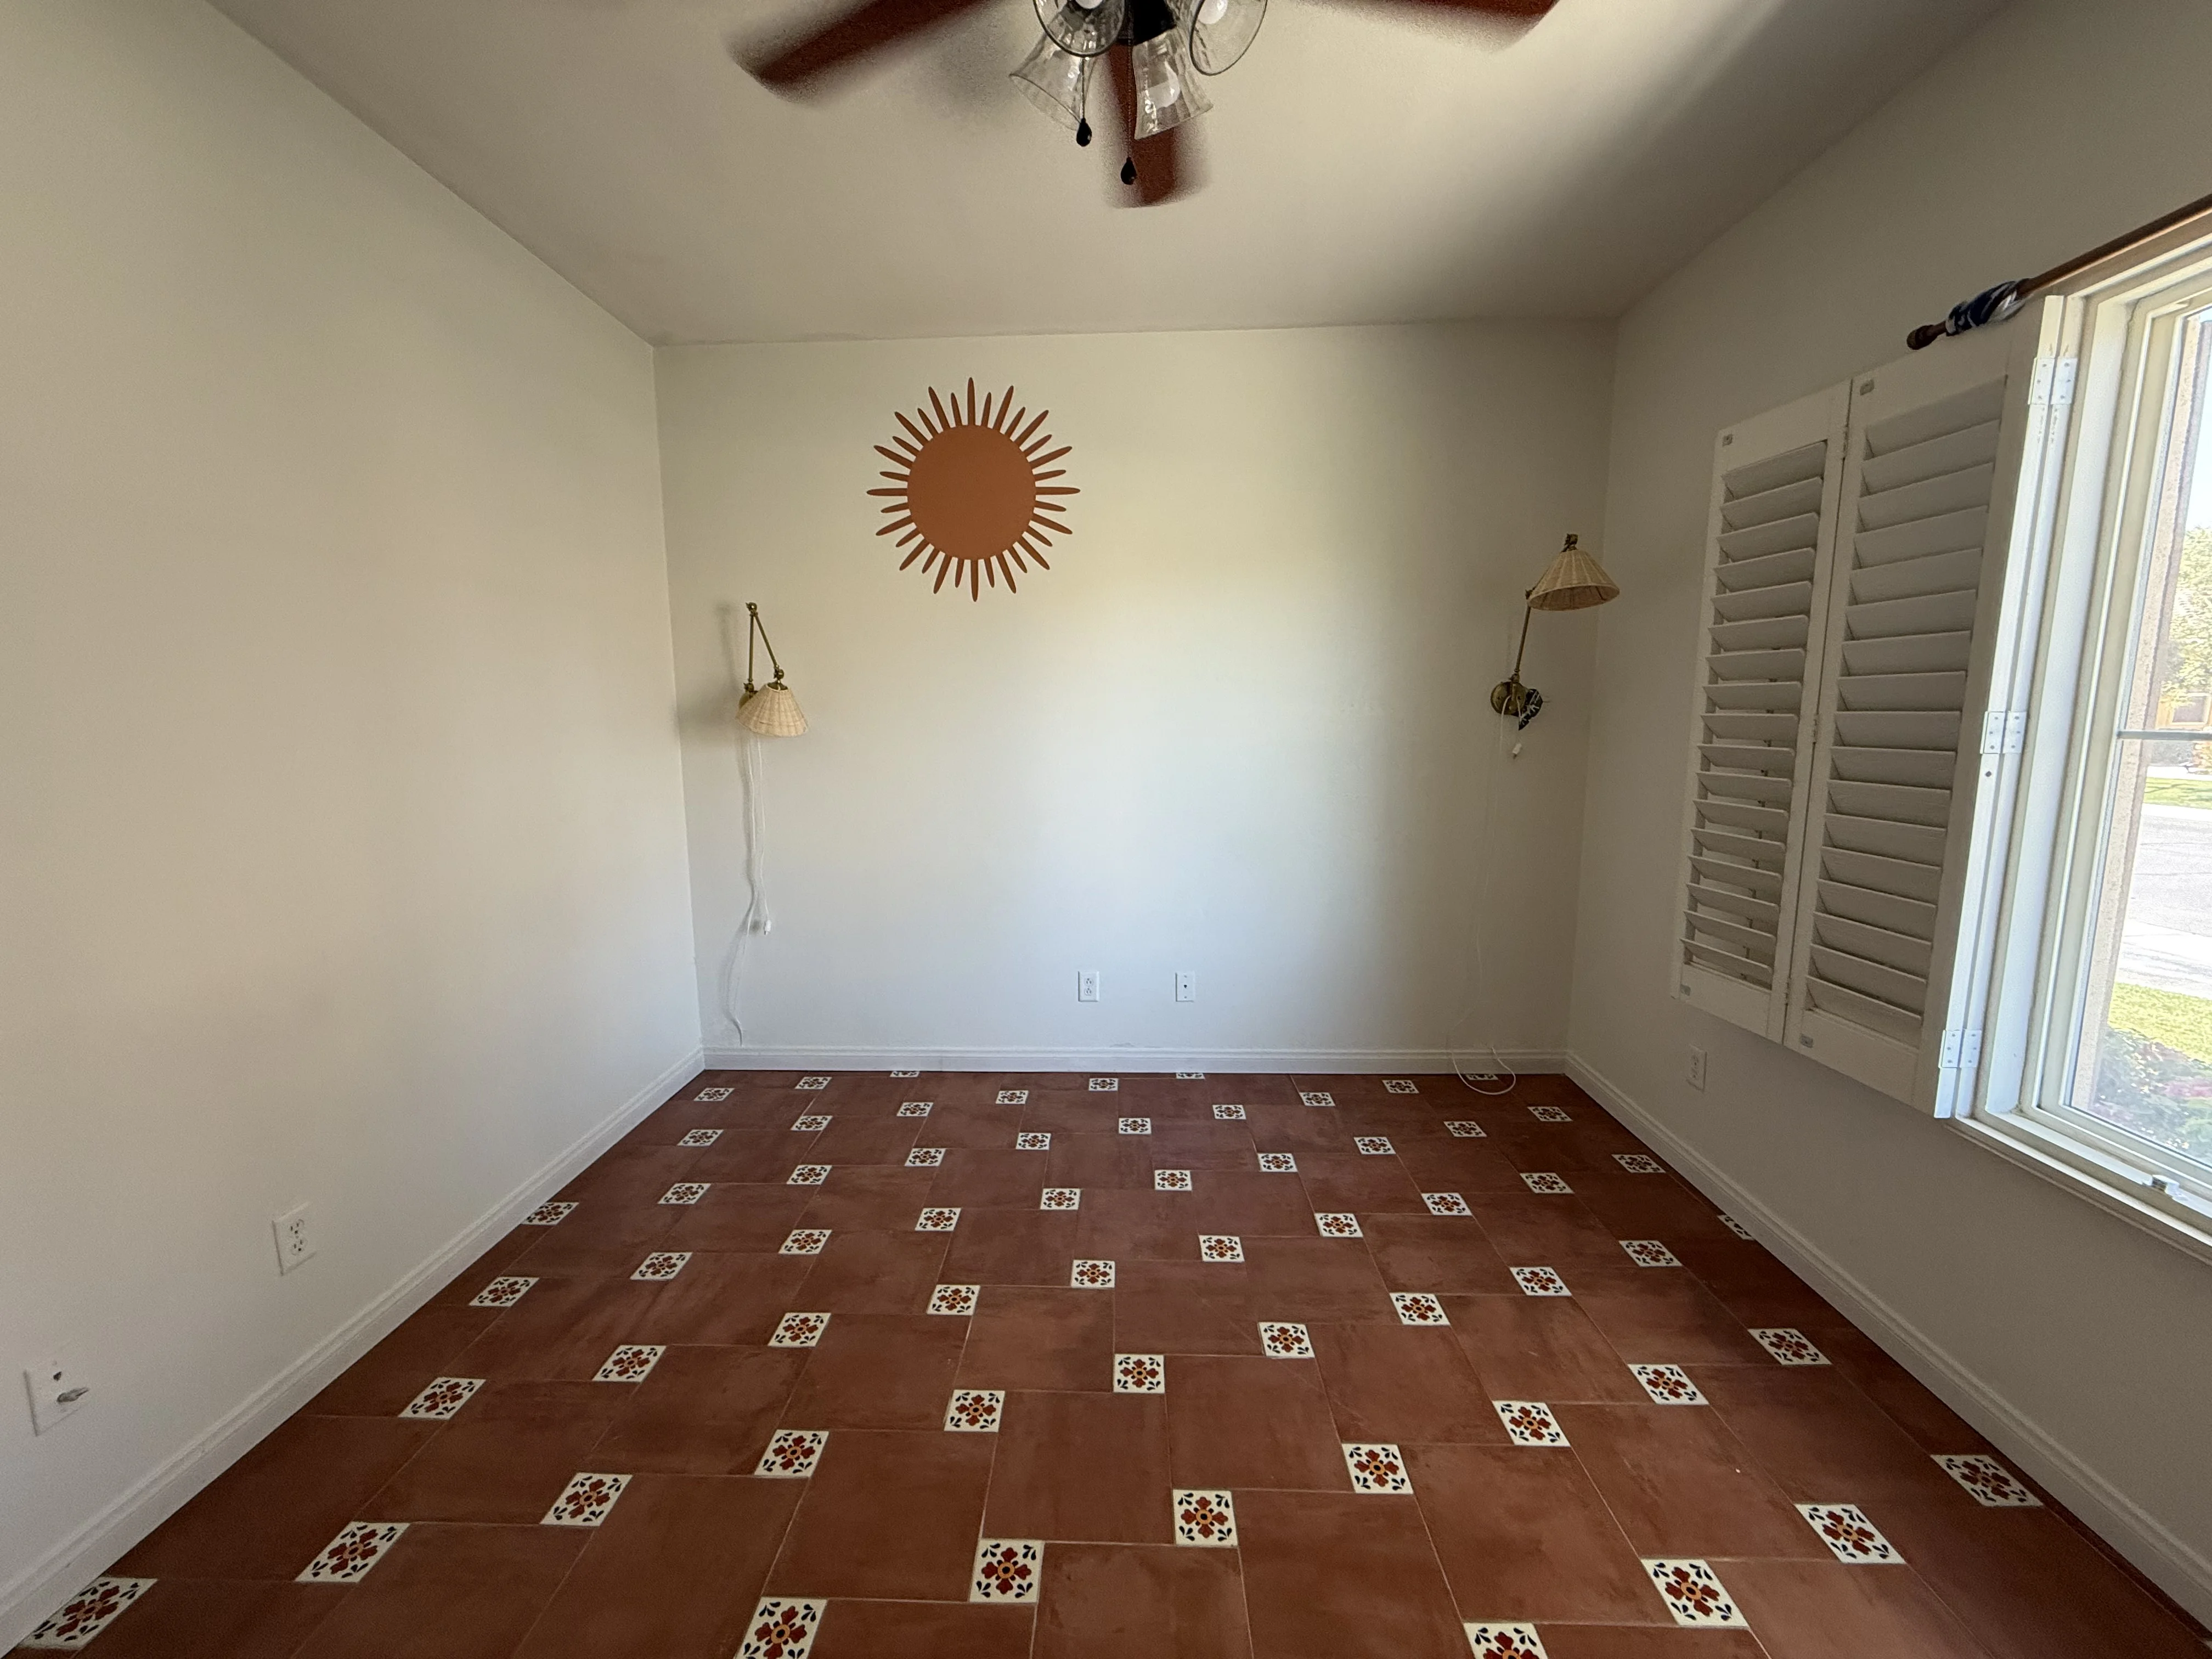
The room before anything was installed. Tiles in, sconces wired, sun art on the wall. No bed, no headboard, no furniture yet.
The process, step by step
1. Measure the wall and mock up with tape
Before any drilling, tape out the footprint on the wall. You want the headboard to start about 2-3 inches above the top of the mattress and extend to roughly where you'd want it to end visually. For a king we landed at about 64 inches wide across four panels, which left small equal gaps on each side to the wall edge. Symmetry matters more than exact width.
Also tape the height. Too low and it reads like a floating shelf. Too high and it disconnects from the bed. Ours sits 3 inches above the mattress at the bottom edge, which keeps it clearly a headboard rather than wall art.
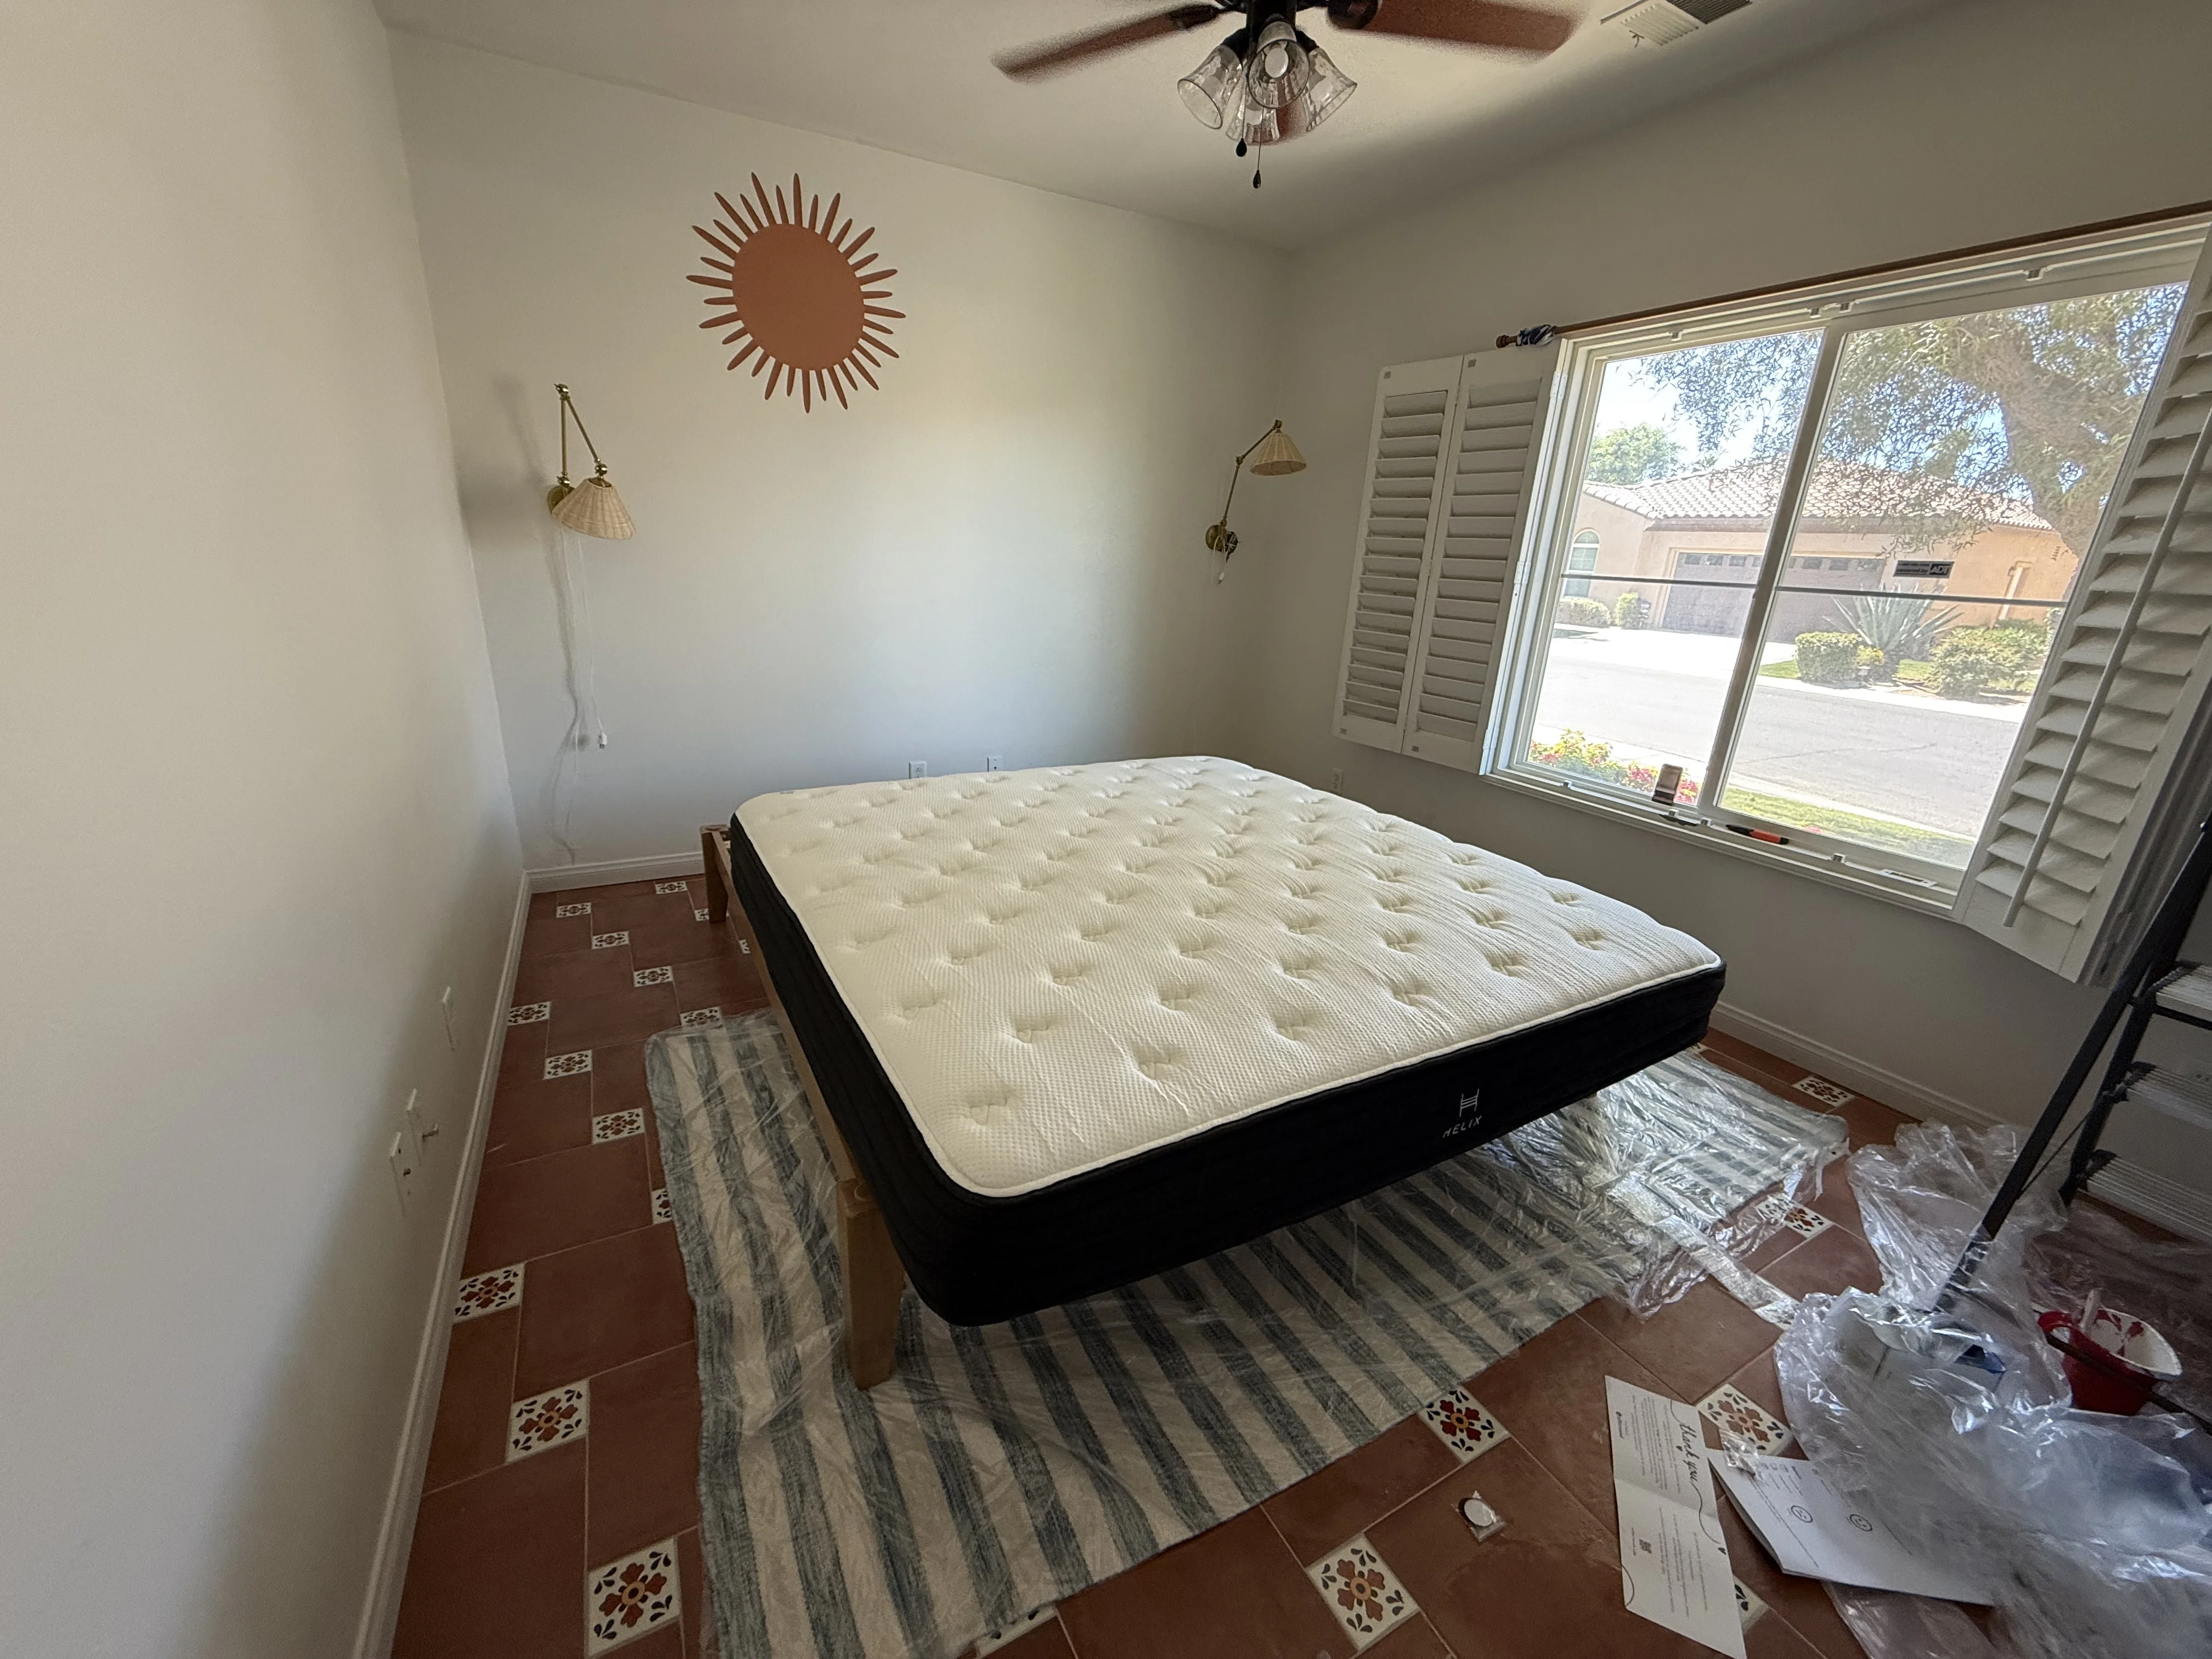
Mattress day. The blue striped jute rug was already laid out, sconces were up. The headboard came later.
2. Mark your stud locations
Stucco walls in older Indio houses are less forgiving than standard drywall. I used toggle bolts rated for the panel weight as a backup even where I hit studs, because a rattan panel falling off the wall in the middle of the night is not the guest experience we're going for. If you're doing this in a standard drywall house, studs or heavy-duty drywall anchors both work.
3. Install the mounting hardware at consistent height
French cleats are the right call here. They let each panel hang independently, which means you can adjust one without disturbing the others, and they keep the panels flush against the wall with no tipping. Cut one cleat per panel, or use Z-clips if you want something thinner. Install all four at the exact same height using a level, not eyeballing.
4. Hang the panels
Start with the middle two panels to center the installation, then add the outer two. Step back after each one and look at the alignment from the doorway, not just from a foot away. Small height differences read more from distance than up close.
The panels hang close to the wall but not flush. There's about a quarter inch gap at the back, which is fine and invisible once the bed is against the wall.
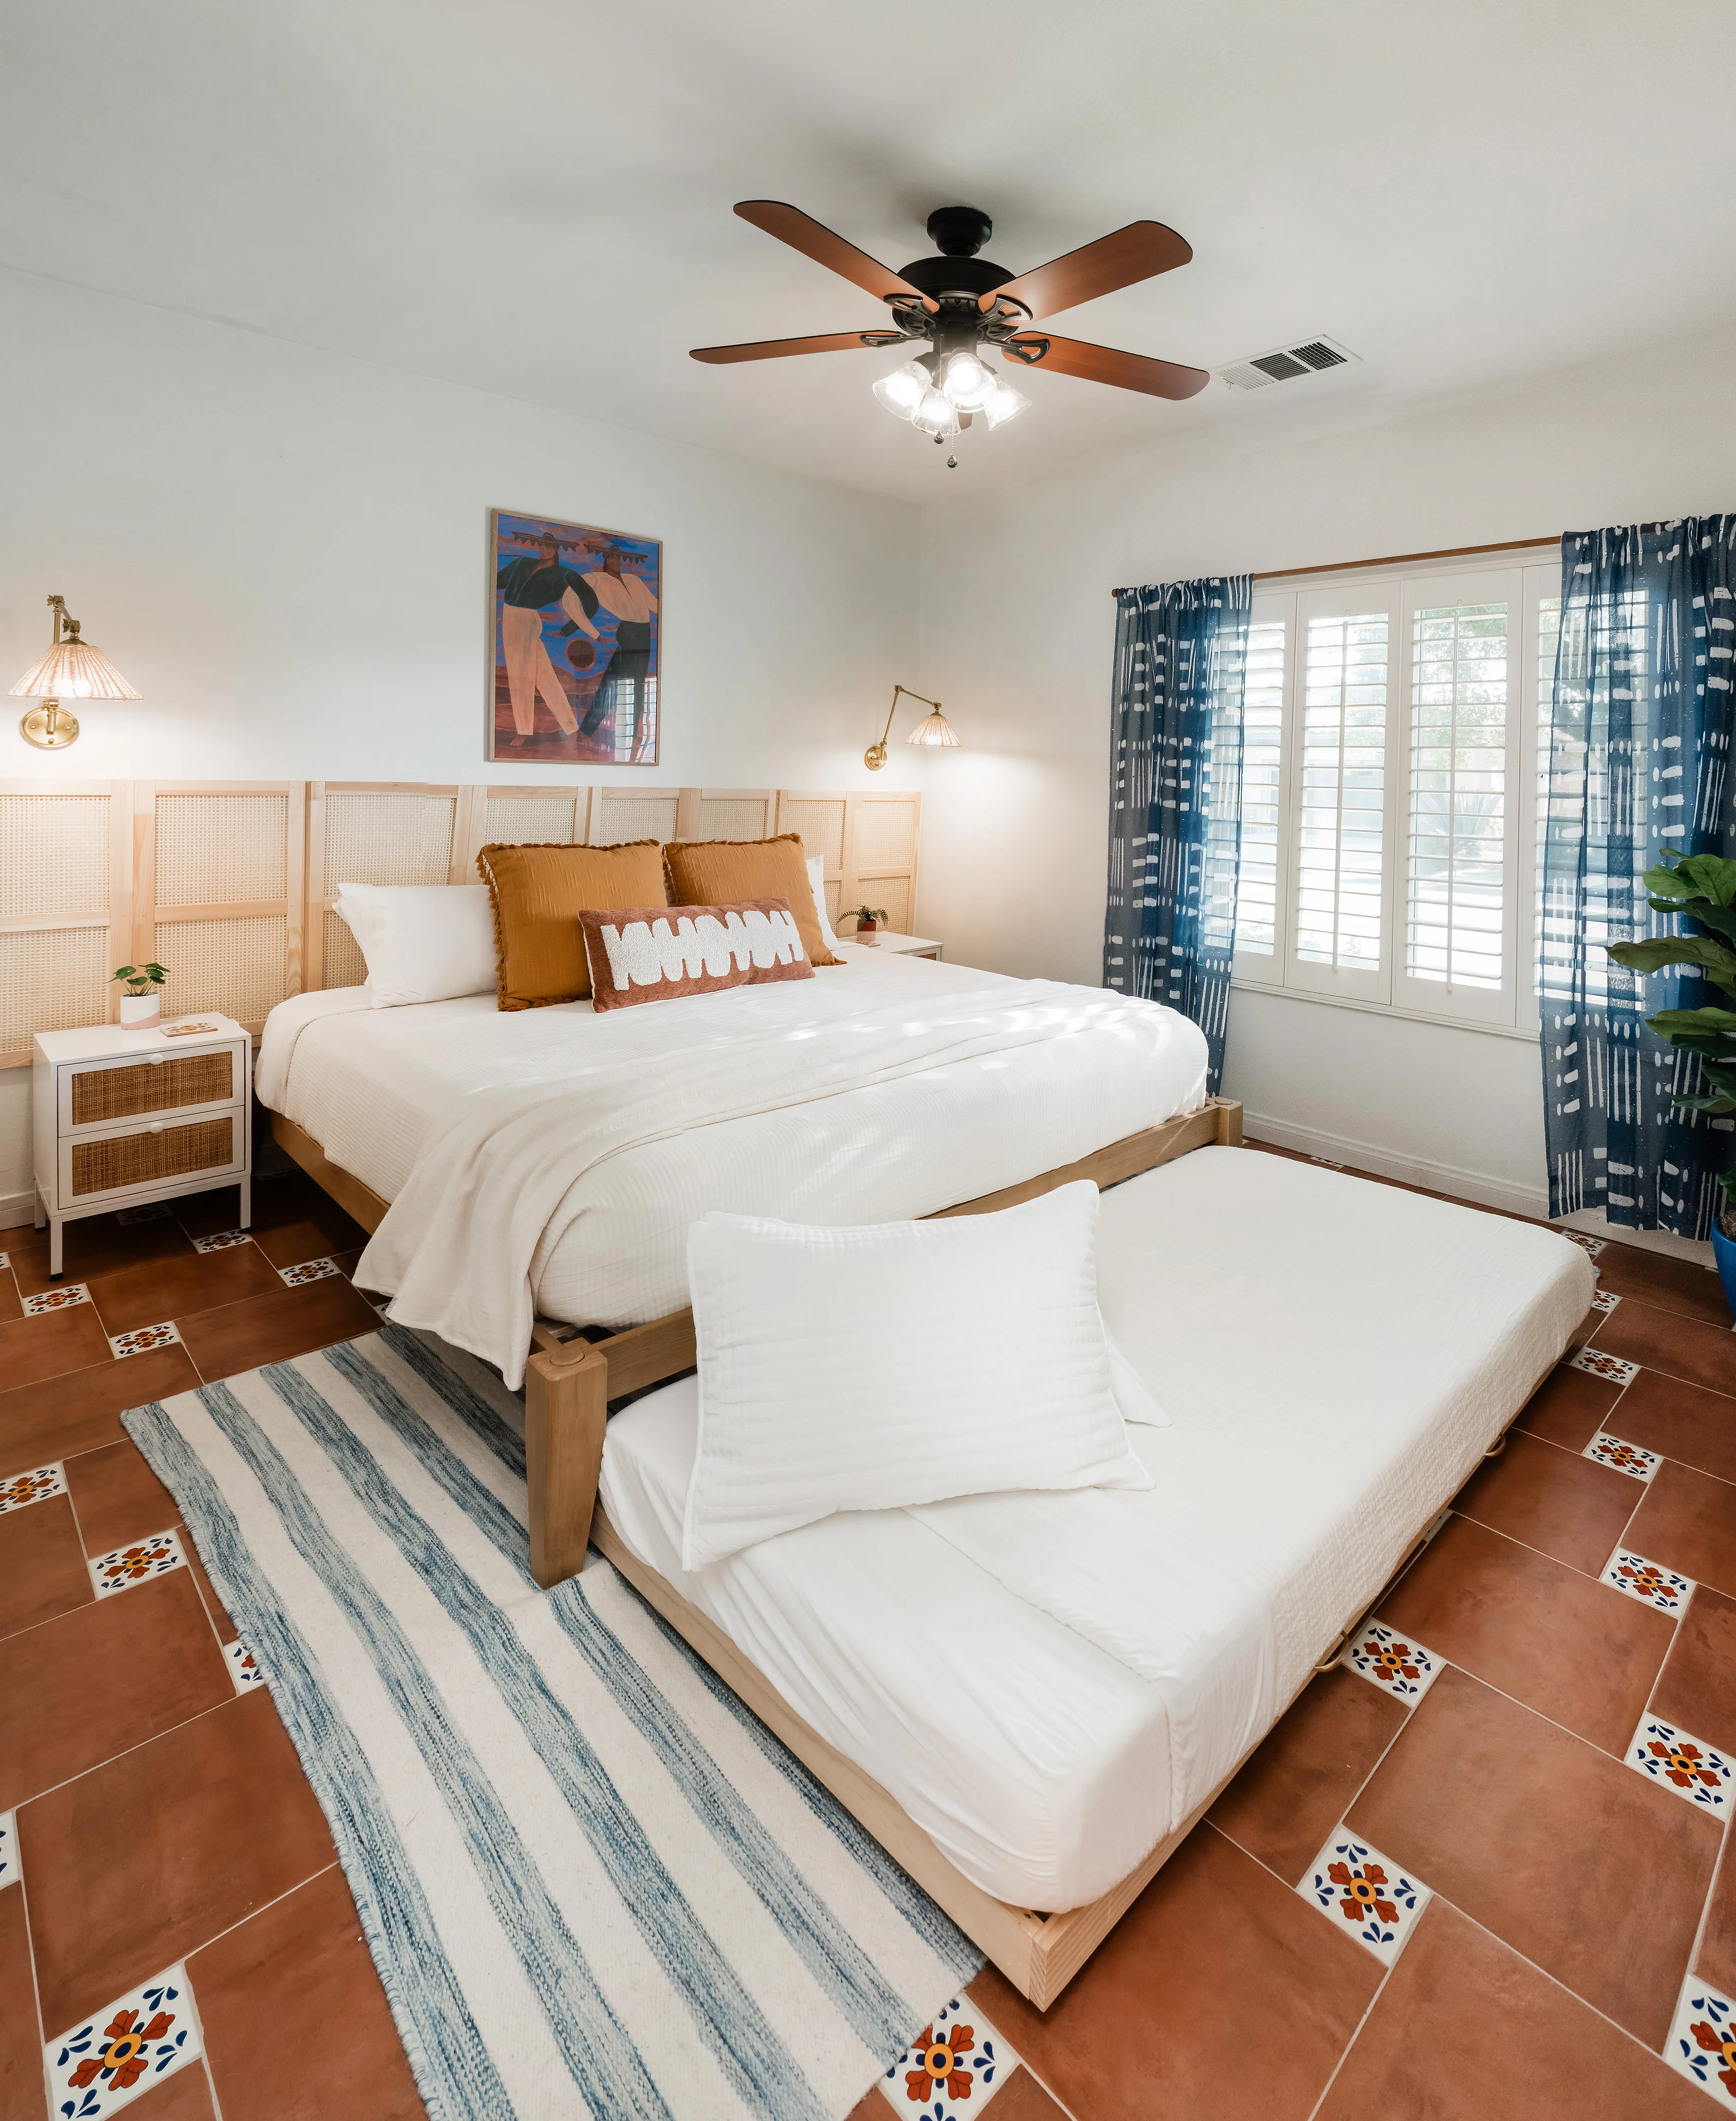
The headboard from straight on. Four panels, even gaps, no visible hardware. The sconces sit just outside the panel edges rather than through them.
5. Add sconces on either side
We added two brass sconces just outside the panel edges, not through the rattan. This serves two purposes: reading light where you actually need it, and visual anchoring that extends the headboard zone a few extra inches on each side without requiring larger panels. The sconces we used have adjustable swing arms, so guests can direct light toward the bed or up toward the art print above.
What it looks like finished
From across the room, the four panels read as one continuous rattan surface. The wood frames disappear, especially once you have pillows stacked against it. The texture is warm and natural, the color is a neutral blonde that works with literally any bedding palette, and nothing about it says IKEA. Guests regularly ask about the headboard. Nobody has ever guessed the source.
The art print above it is mounted on the wall above the top panel edge, which means the headboard acts as a visual base for the art rather than competing with it. The whole wall composition — art, rattan, sconces, bed — came together as a unit because of that relationship.
What I'd do differently
One thing: I'd add a thin horizontal wood ledge along the very top edge of the panels to cap the installation. Right now the top edge of each panel is visible if you look closely, and even though the frames are consistent, a clean cap strip would make it look more like a single built-in unit and less like four separate things. Cost would be another $20-30 in lumber and stain. We'll do it on the next version.
I'd also predrill a small pilot hole in each panel for the cleat screws rather than relying on the IKEA door hardware holes, which don't always line up where you want them. Predrilling takes five minutes and saves twenty minutes of frustration.
Full cost breakdown
- 4x IKEA IVAR doors with bamboo panel (2 packs at $45 each): $90
- French cleat hardware (4 sets): ~$24
- Wall anchors and screws: ~$8
- Misc (paint touch-up, pilot bit): ~$8
- Total: ~$130
A comparable rattan-look headboard from a furniture retailer runs $400-$900 for a king. The IVAR version looks identical in photos and better in person because the pine frame is real solid wood rather than the MDF that most retail headboards use at that price point.
Where this lives at Terra Luz
This headboard is in the Cali Room, our third bedroom, which is also the most flexible: king bed, DIY pull-out trundle, Kahlo Blue workstation behind bifold doors. The full story of how that room came together is in the Cali Room post. If you want to see the primary bedroom's take on a similar warm-materials brief, that's covered in the primary bedroom post.
Terra Luz is available to book in Indio, walking distance to Empire Polo Club. Check availability at indigopalm.co/terra-luz.
Frequently Asked Questions
Which IKEA product do you actually use for this headboard?
The IKEA IVAR door with the bamboo woven panel insert, sold in 2-packs (item 10453072). You need two 2-packs for a king bed. Buy both packs from the same production run if possible so the bamboo color matches — there's subtle variation between batches.
Does the headboard work on stucco walls, not just drywall?
Yes, with toggle bolts as a backup even where you hit studs. Stucco in older desert homes can crumble around a standard screw under sustained lateral load. Toggle bolts rated for 25 lbs per panel give you a secure installation that won't shift when pillows pile up against it.
Can you do this hack for a queen bed instead of a king?
Three panels cover about 51 inches, which is slightly wider than a queen mattress and works well with equal margins on each side. You'd buy one 2-pack and one additional single door if IKEA sells them separately in your region, or buy two 2-packs and save the fourth panel for a future project.
How long does the whole install take?
Two to three hours including the wall layout, finding studs, cutting and mounting cleats, and hanging all four panels. The layout and marking phase takes longer than most people expect — rushing it is where alignment errors happen. Budget a full afternoon if you're doing it solo. You can see the finished result in the Cali Room at Terra Luz, bookable at indigopalm.co/terra-luz.